


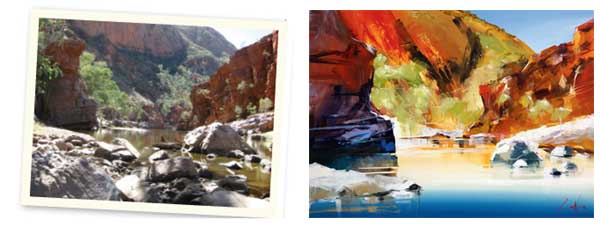
(OR HOW TO GET OVER YOUR SELF-SABOTAGE)
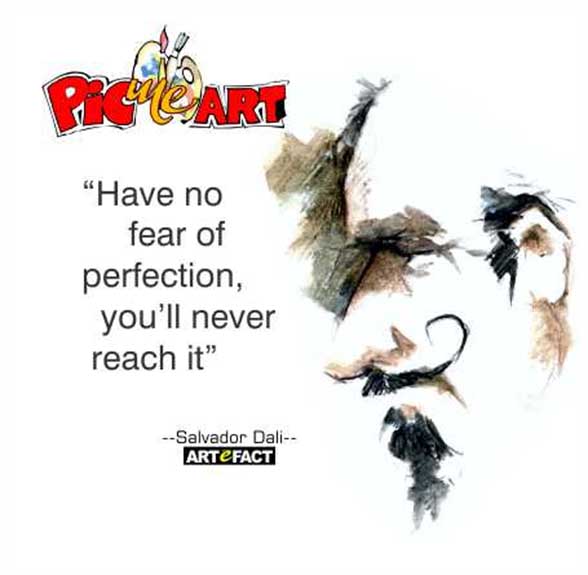
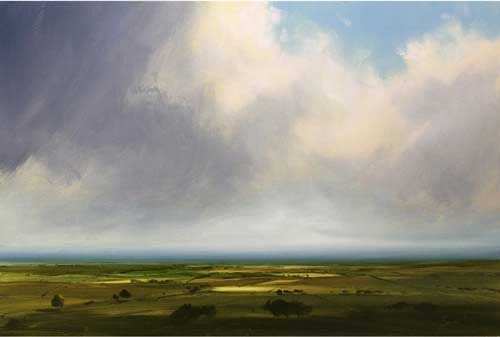
How to paint cloudy skies
Cloudy skies change quickly so, the trick is soaking up the atmosphere first. “Landscape painting is about trying to capture the moment rather than creating an illustrative picture.” Some artist go walking in parks or on the beach or in nature for inspiration, then return home or to the studio to paint from memory. “sometimes taking a photo to refer to is a good idea
To add warmth to a landscape, prime your boards first so that you aren’t working on a cold, white backdrop. When the background shows through parts of one’s painting it creates a kind of a glow. An option is to choose a warm yellow backdrop for your paintings of buildings or urban district landscapes and, rather unusually, an inky red for the seascapes or portraits This tends to be good for early morning or evening light.
It is recommended to stick to a limited palette. Don’t buy hundreds of shades of the same colour. You can create many of your own shades and colours with just a few different shades of the primary and secondary colours. Focus your time on mixing colours and establishing pleasing combinations before applying the oil to board: some artists sometimes spend one or two hours preparing their palette.
Varying the way in which you apply the paint is key when it comes to adding drama and movement to the cloudy skies. You will probably use everything from top-quality brushes to cheaper ones bought in bulk. It’s great to experiment with different brushes, even the cheap and nasty ones can have their uses. It’s really about learning what a brush can do for you and what you can achieve with it
Its great to put the paint down [on the board] and push it about and change the colours. This process of experimentation is important for all artists as it helps you learn how your pre-mixed colours behave alongside one another. You can put down what you might think was a neutral grey next to a blue and that grey would just appear to warm up. But if you put that same neutral grey down next to a warm colour it might appear to go blue instead. This effect is just incredibly interesting to watch

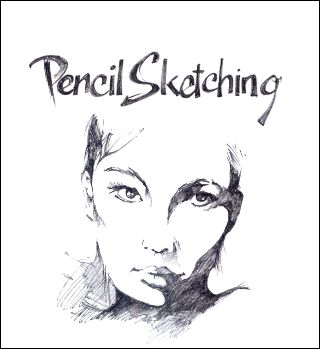
PENCIL SKETCHING…. SOME TIPS from artist Richard Symonds.
Useful tips for maintaining a focus and drawing the viewer’s eye.
I have always been fascinated with the simplicity of just using tonal values – Light and dark – without the fuss of complicated colours.
The first step is all about preparation. It may sound obvious but this has to be the most important first step I any painting or drawing process. Having the correct tools and materials is vital.
For drawings, the surface under the paper has to be very smooth and free of dust and small debris.
I always start by sketching a rough outline from my reference. I usually use a 2H pencil for this stage as it remains light enough to rub out should you need to adjust the sketch, yet visible enough to see throughout the remainder of the drawing process.
Once happy, the drawing can begin. Because pencil is so easily smudged, as a right handed artist, I work from left to right. – Also, have a clean sheet of paper to lean on.
I don’t like “smudging “ with the finger, and by using hard pencils like a 2H OR 5H with a blunt point will create a lovely effect – Far better than a greasy finger ever will – Try it!
Finally – know when to stop “fiddling” with the sketch. I generally put the sketch away for a few days and look at it later with “Fresh eyes” – If nothing glaring stands out and shouts at you – then, that’s it! You’re done
Thank you SICHARD Simonds for your words of advice – c/o ARTISTS & ILLUSTRATORS Magazine



Our first “tackled” project, The Trilogy is complete, where
3 of our featured artists injected their own style into a
panel making up one large piece of work.
Click here to see the progression
Each panel measures 910 x 1210mm.
By leaving a small gap between each individual piece, it measures a hanging space of 3meters. Ideally, these paintings should be sold as one piece, but because of their structure, each one can stand alone. The artists will bring them together for the first time since the beginning when they will be hung in a luxury cabin in Dinokeng Game reserve called Jimmy’s Place.